AddressBook Management
- 1. What Is AddressBook
- 2. Managing AddressBook
- 3 Create New Contact
- 4. Contact Management Toolbar
- 5. Contact Status Description
- 6. Managing Contact Groups
- 7. Create New Contact Group
- 8. Import Contacts and Groups
- 9. Bulk Contact Import via Copy and Paste
1. What Is AddressBook
AddressBook stores contact and contact group information. You can select recipients from it when configuring tasks.
To improve SQLMessenger security, disable the option Allow SQLMessenger to send emails to addresses outside the AddressBook in System Settings. Once disabled, emails can only be delivered to contacts saved in the AddressBook.
Note: Emails that have already been generated will continue to be sent normally.
When using Data Extraction Code to retrieve reports on demand, the email address making the request must be listed in AddressBook.
2. Managing AddressBook
Click the AddressBook icon in the MainMenu to open the AddressBook Manager.
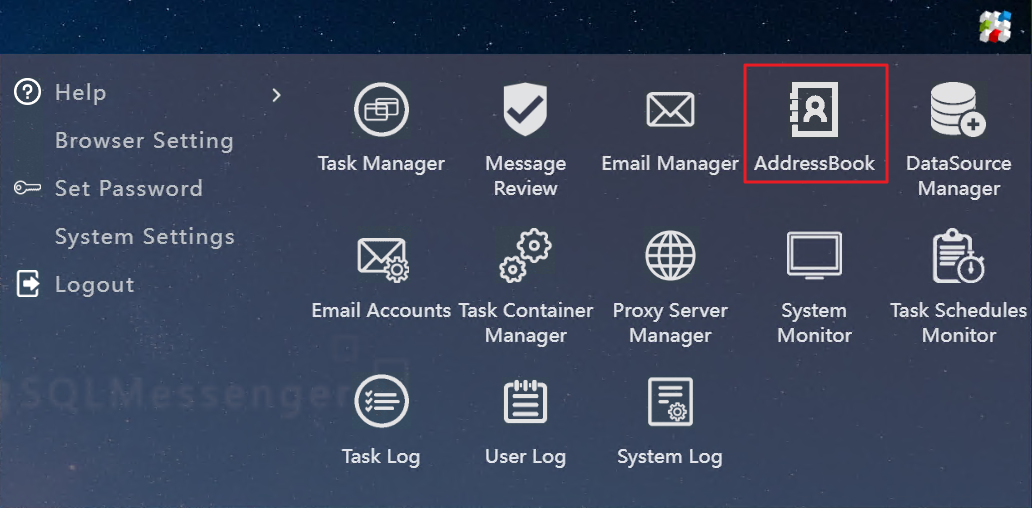
Click the AddressBook icon in MainMenu to open the AddressBook Manager
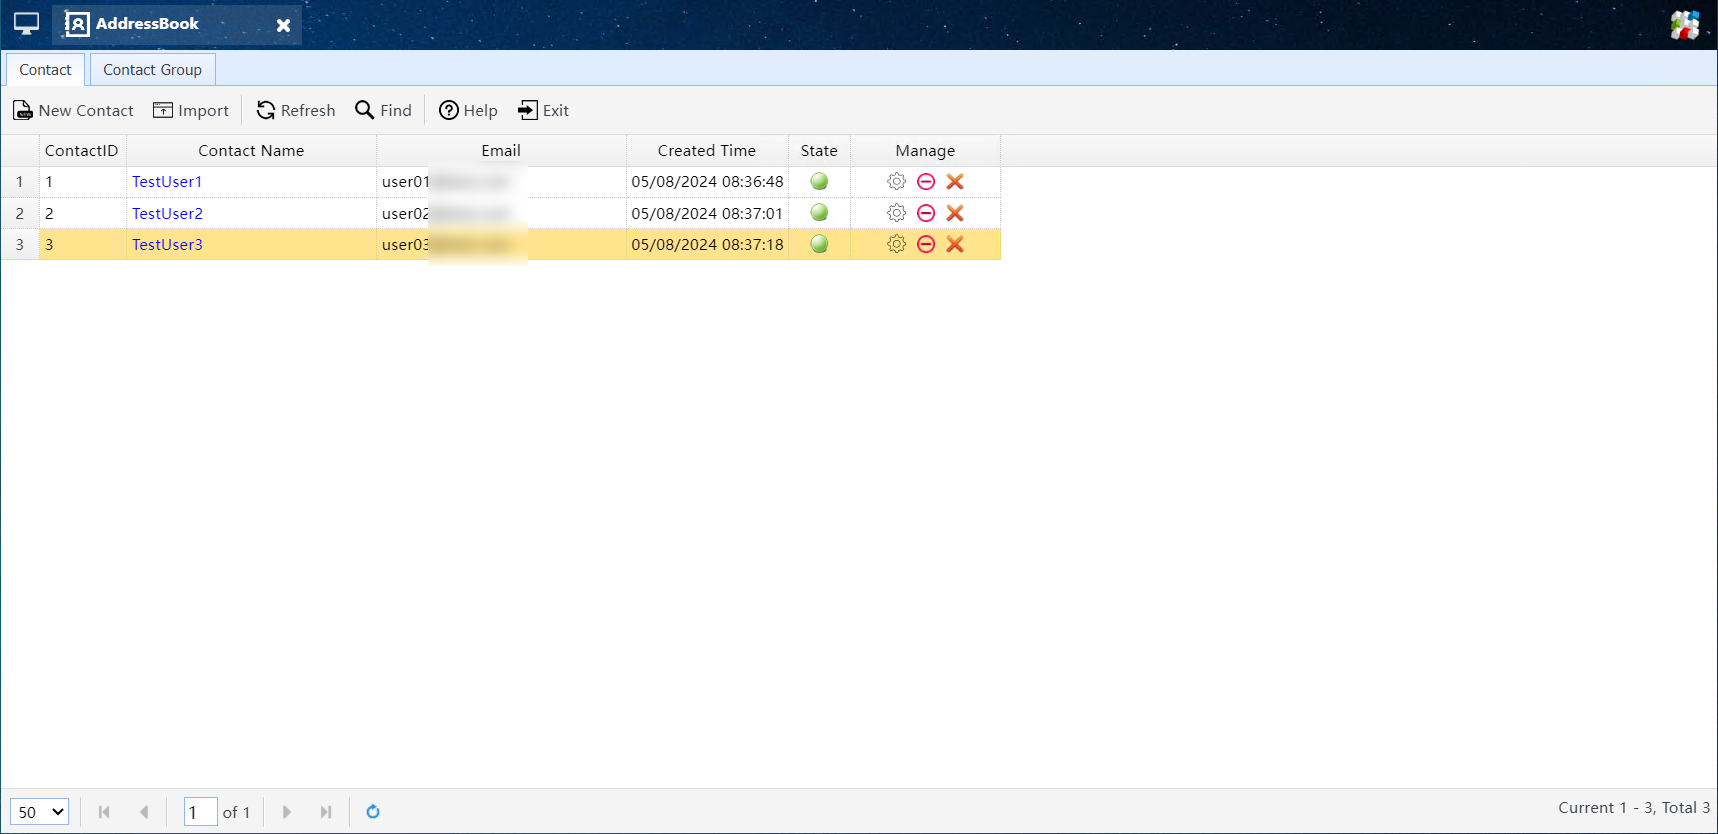
The AddressBook Manager
In AddressBook Manager, you can add, edit, and delete contacts and contact groups. You can also import contacts and contact groups from Excel files.
3. Adding New Contacts
Click the New Contact button on AddressBook Manager to open the Create New Contact dialog.
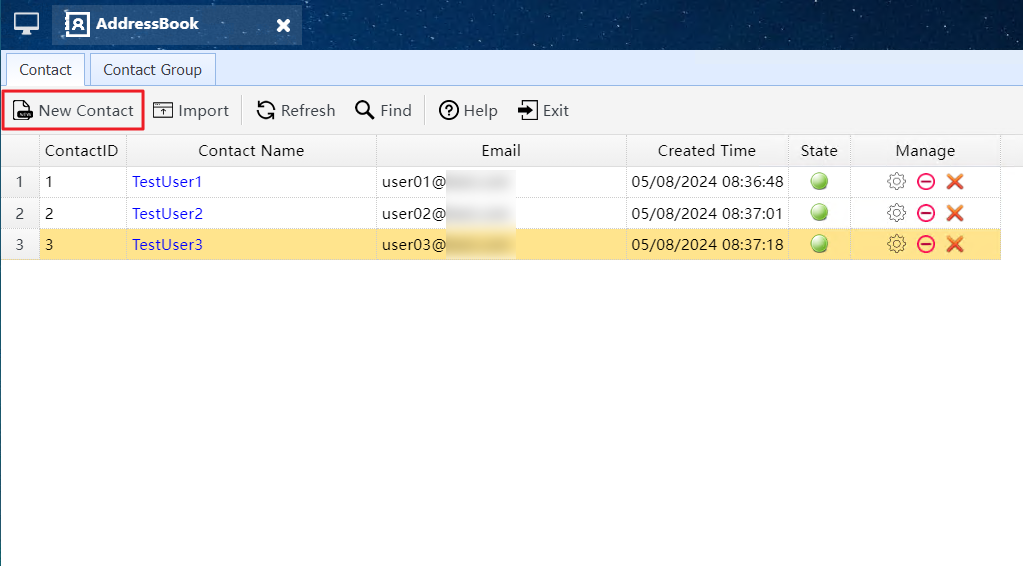
Click the New Contact button to open the Create New Contact dialog
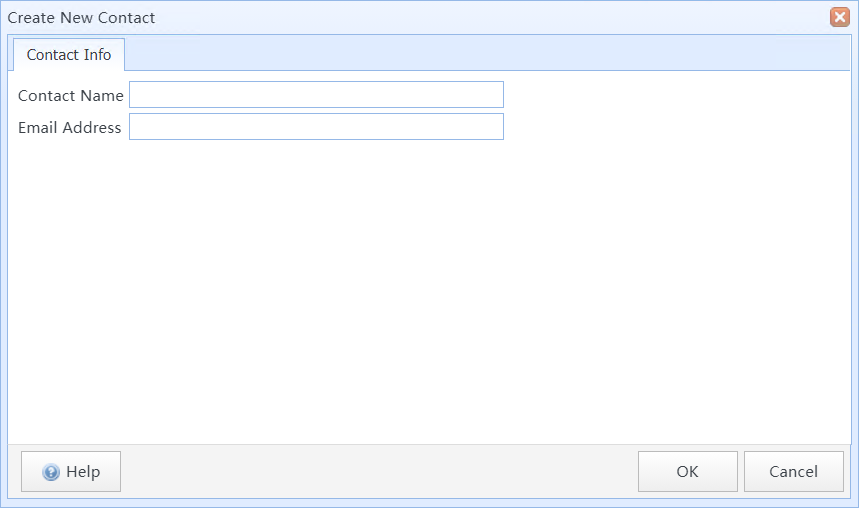
The Create New Contact dialog
In this dialog:
|
Contact Name |
Enter the contact name here. |
|
Email Address |
Enter the contact’s email address. Email addresses in AddressBook must be unique. |
4. Contact Management Toolbar
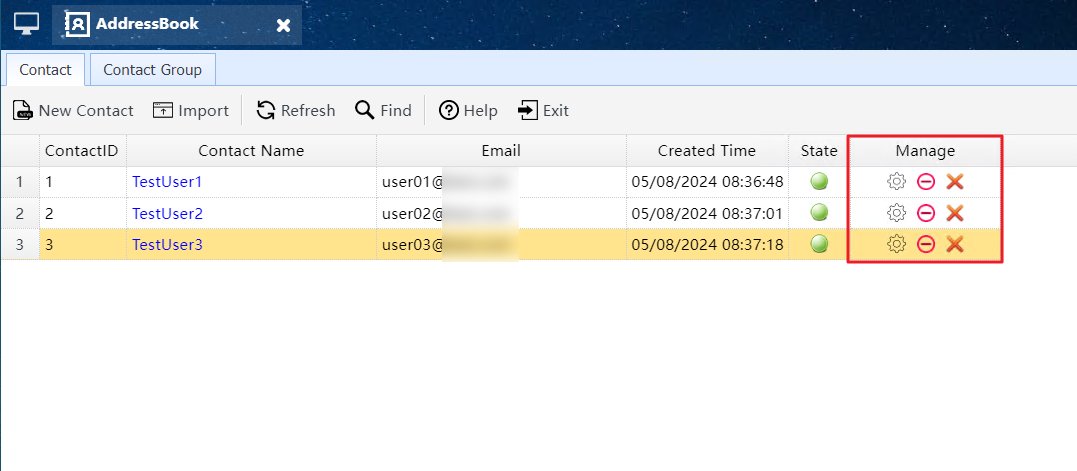
The Contact Management toolbar
 |
Click to open the Contact Properties dialog and modify the contact information. |


|
Click to disable or enable the contact. When a contact is disabled, the system treats their email address as an unfamiliar address during task execution, and data extraction requests from this address will not be processed. |
 |
Click to delete the contact. When a contact is deleted, the system treats their email address as unfamiliar during task execution, and data extraction requests from this address will not be processed. |
5. Contact Status Description
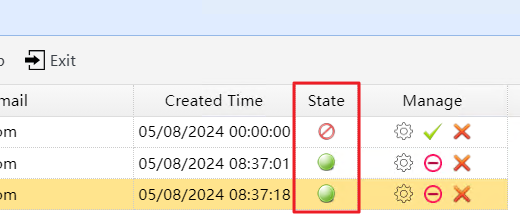
The contact status
 |
The contact is enabled. |
 |
The contact is disabled. |
 |
The contact is deleted. |
6. Managing Contact Groups
A contact group can hold multiple contacts. When configuring tasks, you may select groups as recipients, and the system will send task-generated emails to all members within the group.
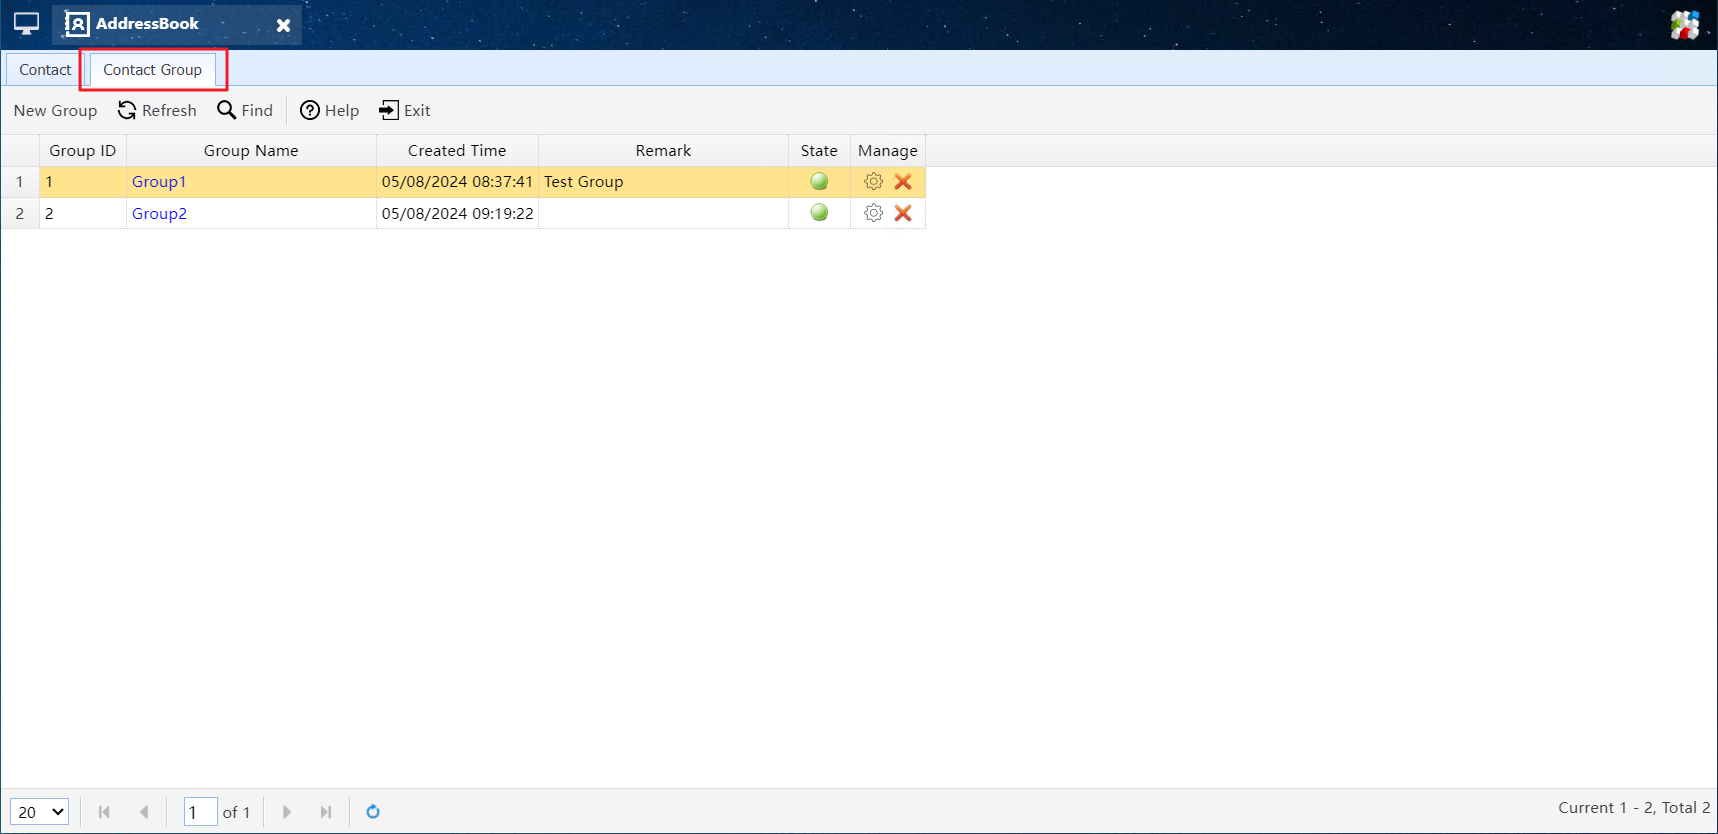
The Contact Group Manager
7. Create New Contact Group
Click the New Group button in the Contact Group Manager to open the New Group dialog.
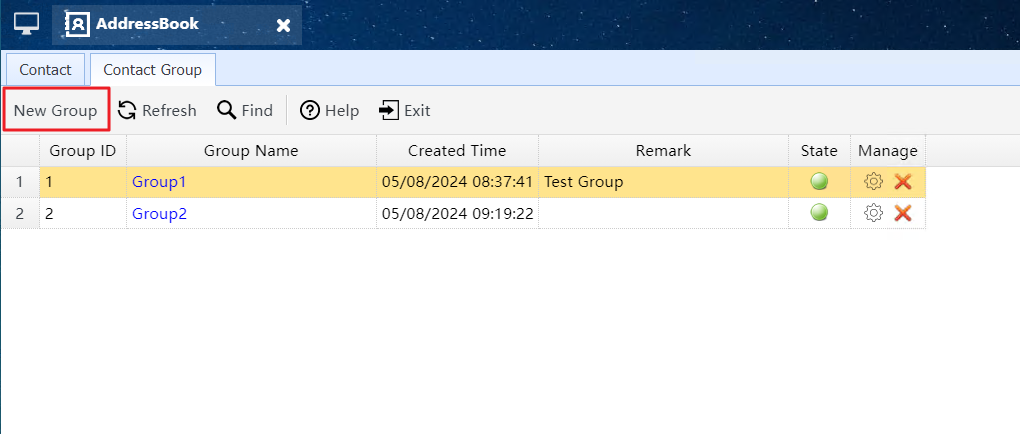
Click the New Group button to open the New Group dialog
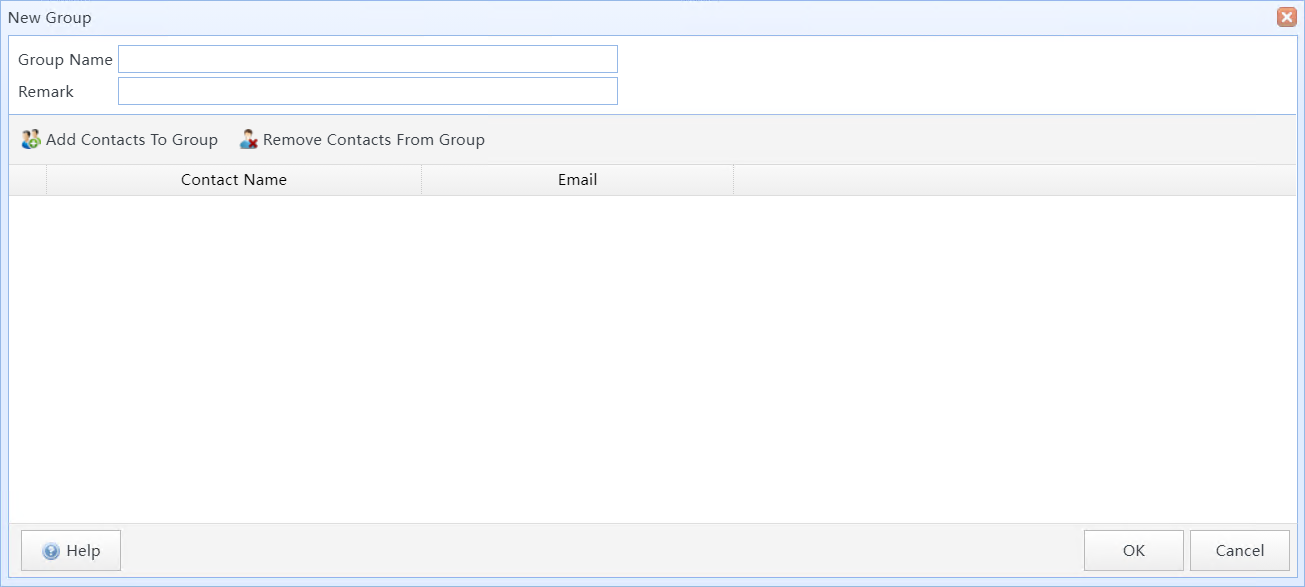
The New Group dialog
In this dialog:
|
Group Name |
Enter the group name here. |
|
Remark |
Enter some remarks for the contact group for easier management. |
|
Add Contacts To Group |
Add contacts to the group. |
| Remove Contacts From Group |
Remove contacts from the group. |
8. Import Contacts and Groups
You can store contact and group data in an Excel file, then batch import it into SQLMessenger AddressBook.
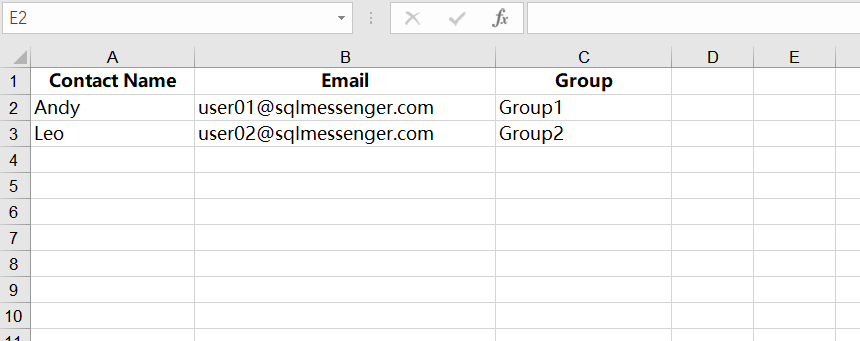
Excel spreadsheet to be imported
You can download the Excel template from the Import Contacts From File dialog.
Spreadsheet Fields Description
|
Contact Name |
Contact name. This field is required. |
|
|
Contact email address. This field is required and must be unique. |
|
Group |
Enter the group name(s) that the contact belongs to. If a contact does not belong to any group, this field can be left blank. You can assign multiple groups to a contact. Separate each group with a comma. If a group does not exist in AddressBook, the system will automatically create it. |
After editing the Excel file, click Import to launch the Import Contacts dialog.
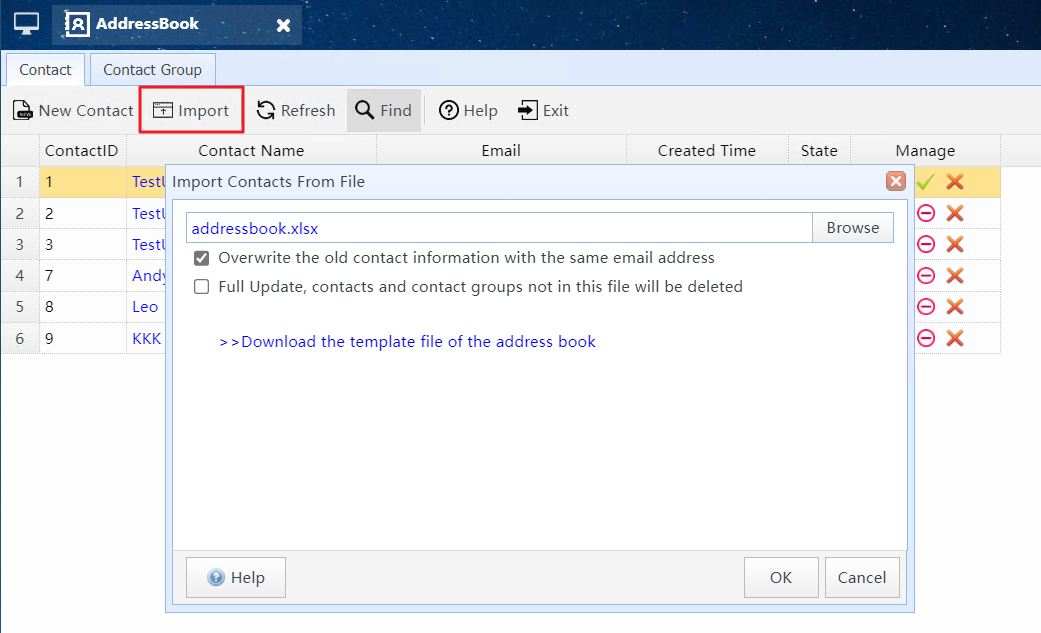
Click the Import button to open the Import Contacts dialog
In this dialog:
|
Overwrite existing contact information for the same email address |
When this option is enabled, if an email address in the file already exists in AddressBook, the system will update the corresponding contact with the data from the file.
|
|
Full Update: Remove contacts and groups not present in the file |
If enabled, the system fully updates the address book based on imported file data. The import proceeds as follows: 1. Delete contacts with email addresses not found in the imported file 2. Delete groups that do not exist in the imported file 3. Update existing contact details with matching email addresses using file data Note: This operation is irreversible. Please proceed with caution. |
9. Bulk Contact Import via Copy and Paste
The bulk contact import via copy and paste is available in version 2.4.0004. You can copy multiple contacts and paste them into SQLMessenger to add them to AddressBook in bulk.
Step 1: Click the Batch Add button in the AddressBook to open the Batch Add Contacts dialog.
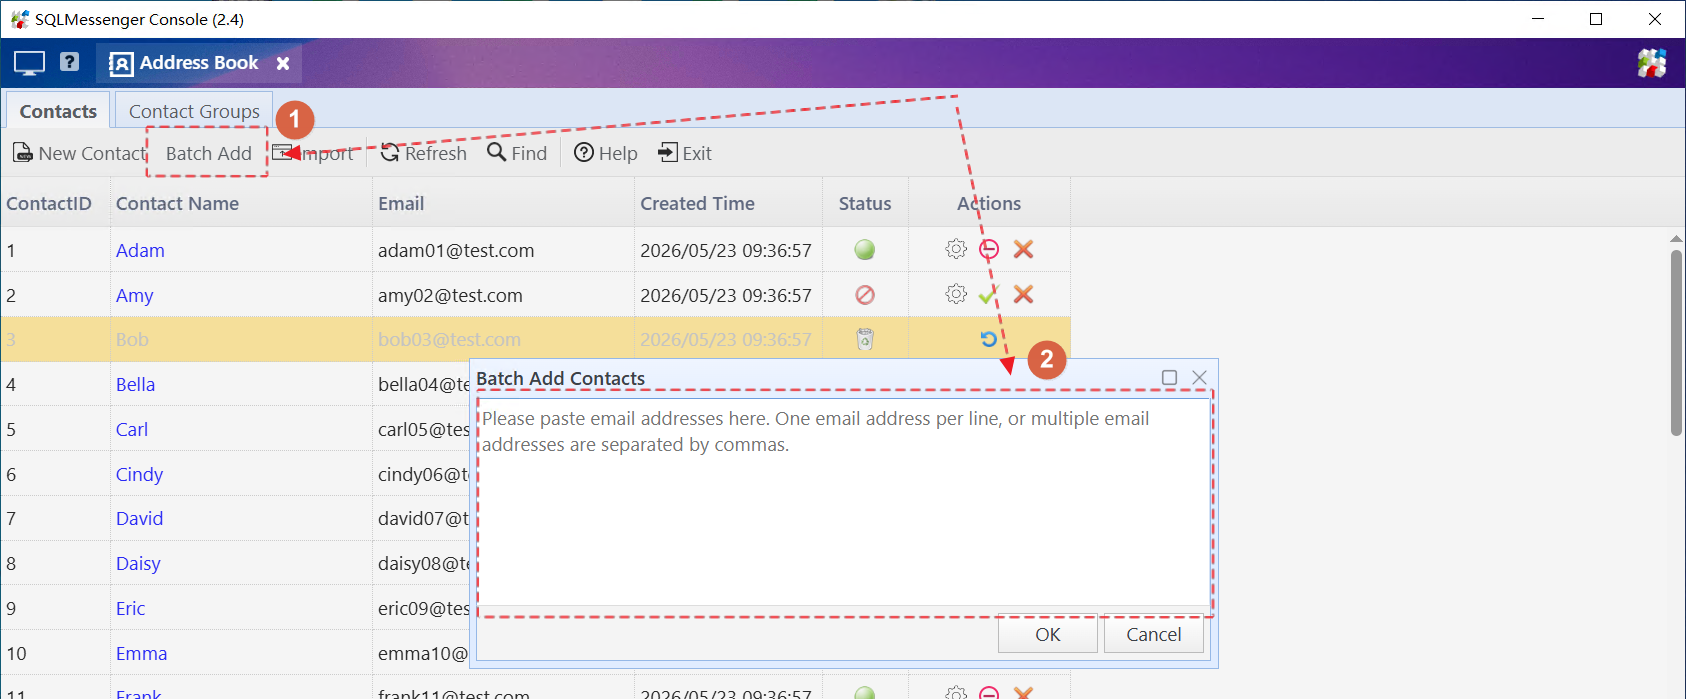
Click the Batch Add button to open the Batch Add Contacts dialog
Step 2: Paste the contact information into the dialog, then click OK.
Note:
Valid formats include email addresses such as "amy@test.com" or Name<email> format, such as Amy<amy@test.com>.
Commas are not allowed in contact names or email addresses.
You can enter multiple contacts separated by commas, or one contact per line.
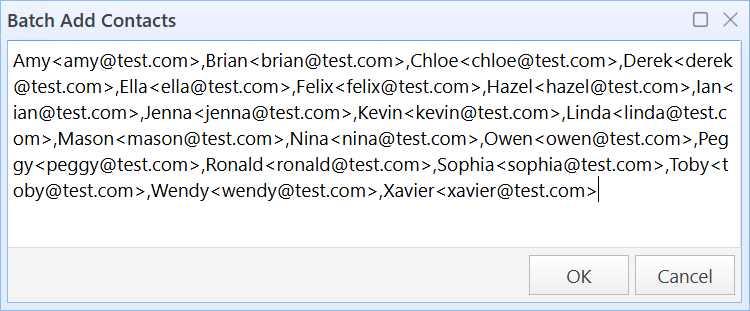
Paste email addresses to be added into the text box
Step 3: The system validates the imported data and removes duplicate email addresses. A list of contacts ready for import will be displayed. Review the list and click OK to add the contacts to AddressBook.
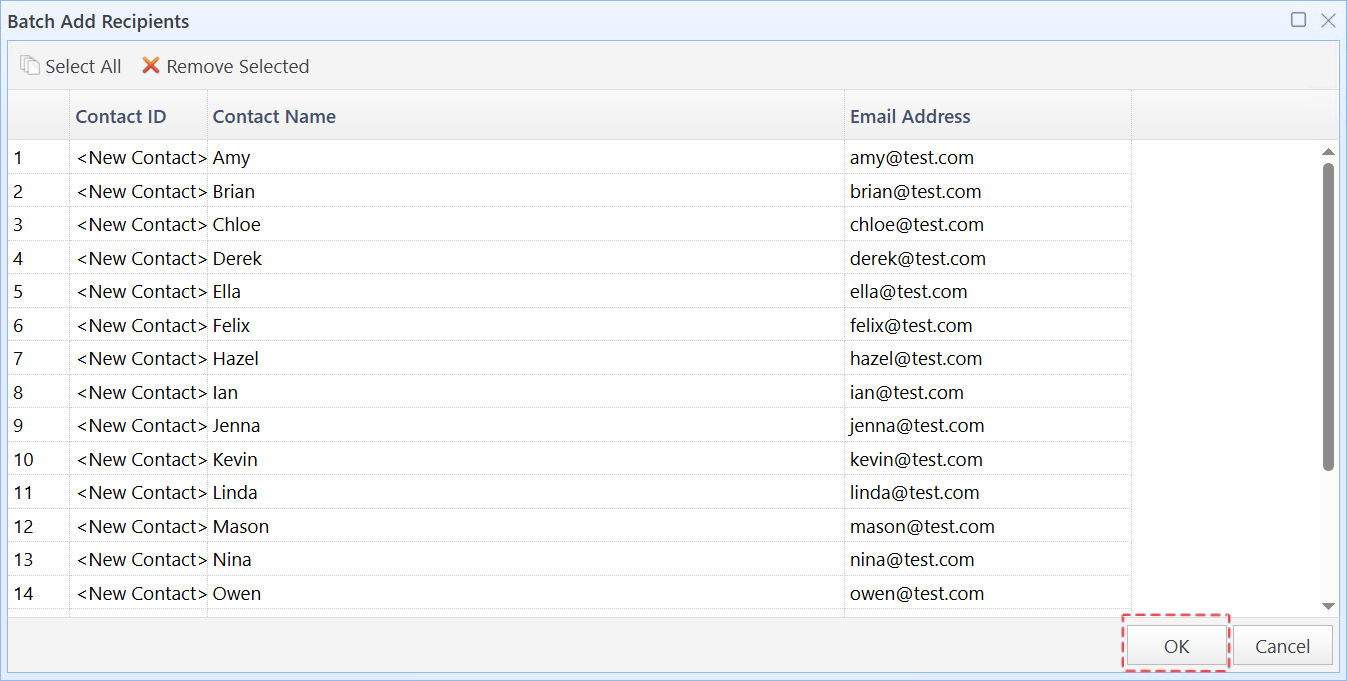
Check the addresses to be imported and click OK after confirmation
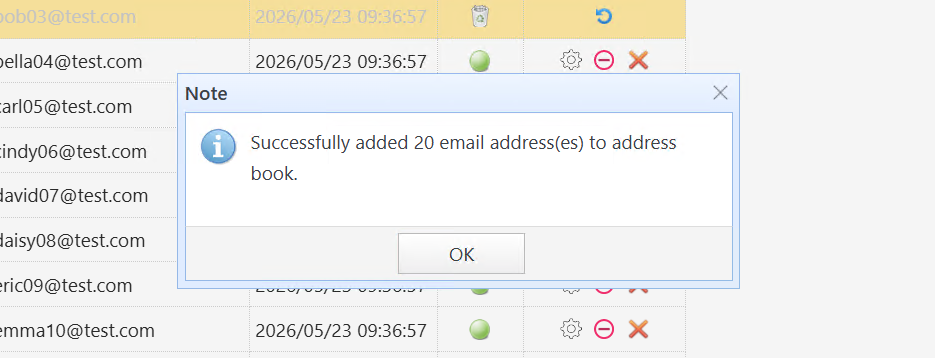
System displays operation results
After completion, click the Refresh button to view newly added contacts in the list.
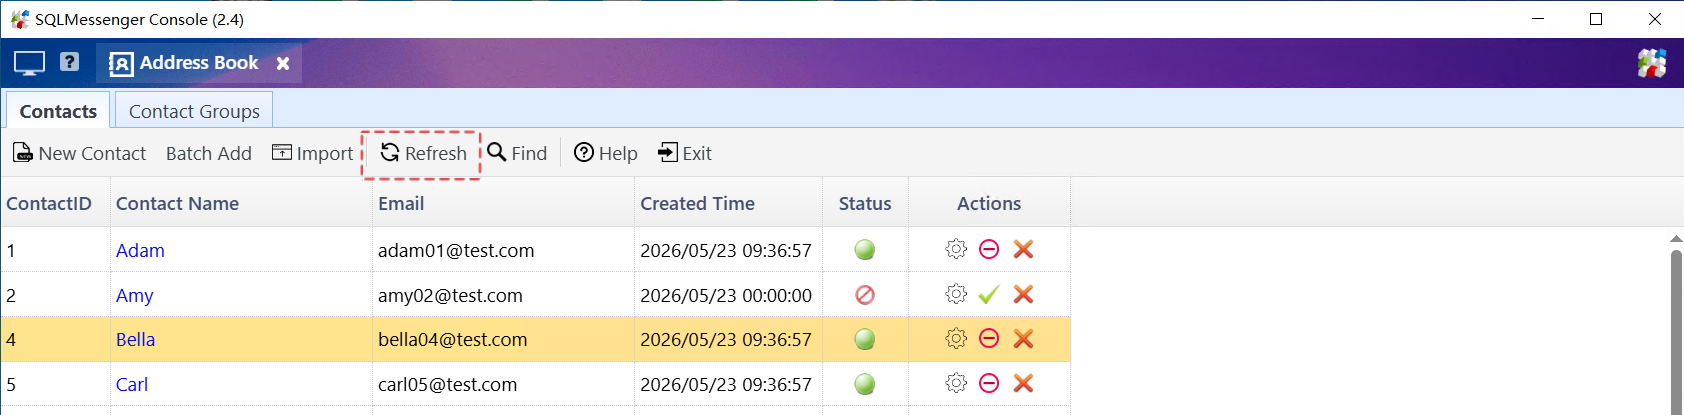
Click the Refresh button to view newly added contacts in the list